3. Implementation
This section demonstrates how to build the required components to perform a secure boot. This includes building and writing the secure boot loader in OTP, signing a firmware image, and writing it in the QSPI Flash device.
3.1. Requirements
Import the following projects in your workspace:
- scripts: contains scripts to manage the chip programming
- python_scripts: contains scripts to manage the firmware image signature
- ble_suota_loader: contains the Secure Boot Loader to be written in OTP
- pxp_reporter: can be any project with SUOTA support and contains the firmware image
Your workspace should look like Fig. 5
Warning
The next step will cause the Secure Boot Loader to be written in the OTP. This is not reversible. You should carefully store your signing keys otherwise the DA14682/DA14683 is no longer usable.
3.2. Generate Keys
- Select the secure image configuration as shown in Fig. 6
- In the pop-up window shown in Fig. 7, select Yes to generate the keys.
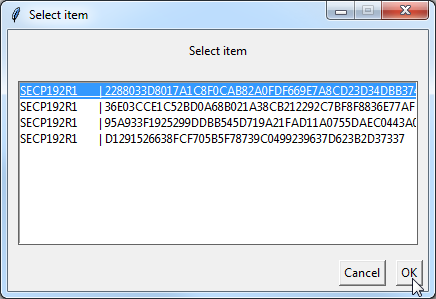
- Select one of the available ECC schemes and click OK.
- The configuration script creates a file in the
python_scripts/secure_imagefolder. Refresh the folder (right-click and select Refresh) and open theproduct_keys.xmlfile which contains the private keys to program in the DA14682/DA14683.
3.3. Configure SUOTA Image
- When asked if you want to load the keys from
product_keys.xml, click on Yes.
Note
If you select No, you can choose to load the keys manually however this procedure is not covered in the tutorial.
- Select the key to use for your secure_image.
- Select the hash to use for your secure_image.
- In order to keep this example simple we won’t define revocation keys or mininal version, select No for the two questions shown in Fig. 13 and Fig. 14.
You have now generated the secure_img_cfg.xml file in the secure_image folder.
This file will be used to configure your Secure Boot Loader as well as to digitally sign
your application image.
3.4. Initial SUOTA Image Programming
The image is configured and you can now launch the initial Flash. This procedure performs the following actions:
- erase the required area in the Flash device (bootloader and partition table)
- write the selected application image (in this case
pxp_reporter) - write the application image header (secure boot configuration information)
- write the Secure Boot Loader in the OTP
- write the secure key in the secure area
To initiate the programming, select your application in the Project Explorer and, in the application launcher, select secure_suota_initial_flash_jtag, see Fig. 16.
For reference, use this initial SBL flash log.
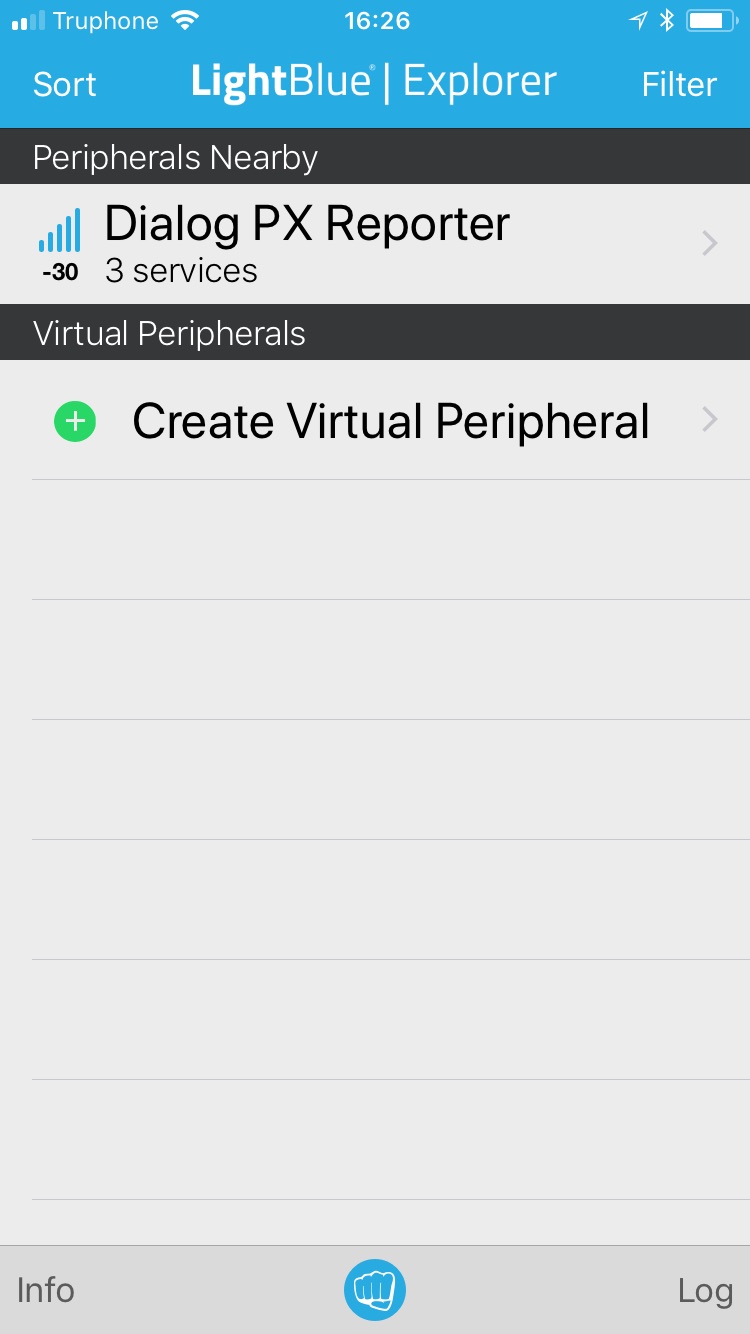
Your device should now advertise as Dialog PX Reporter as shown in Fig. 17.


